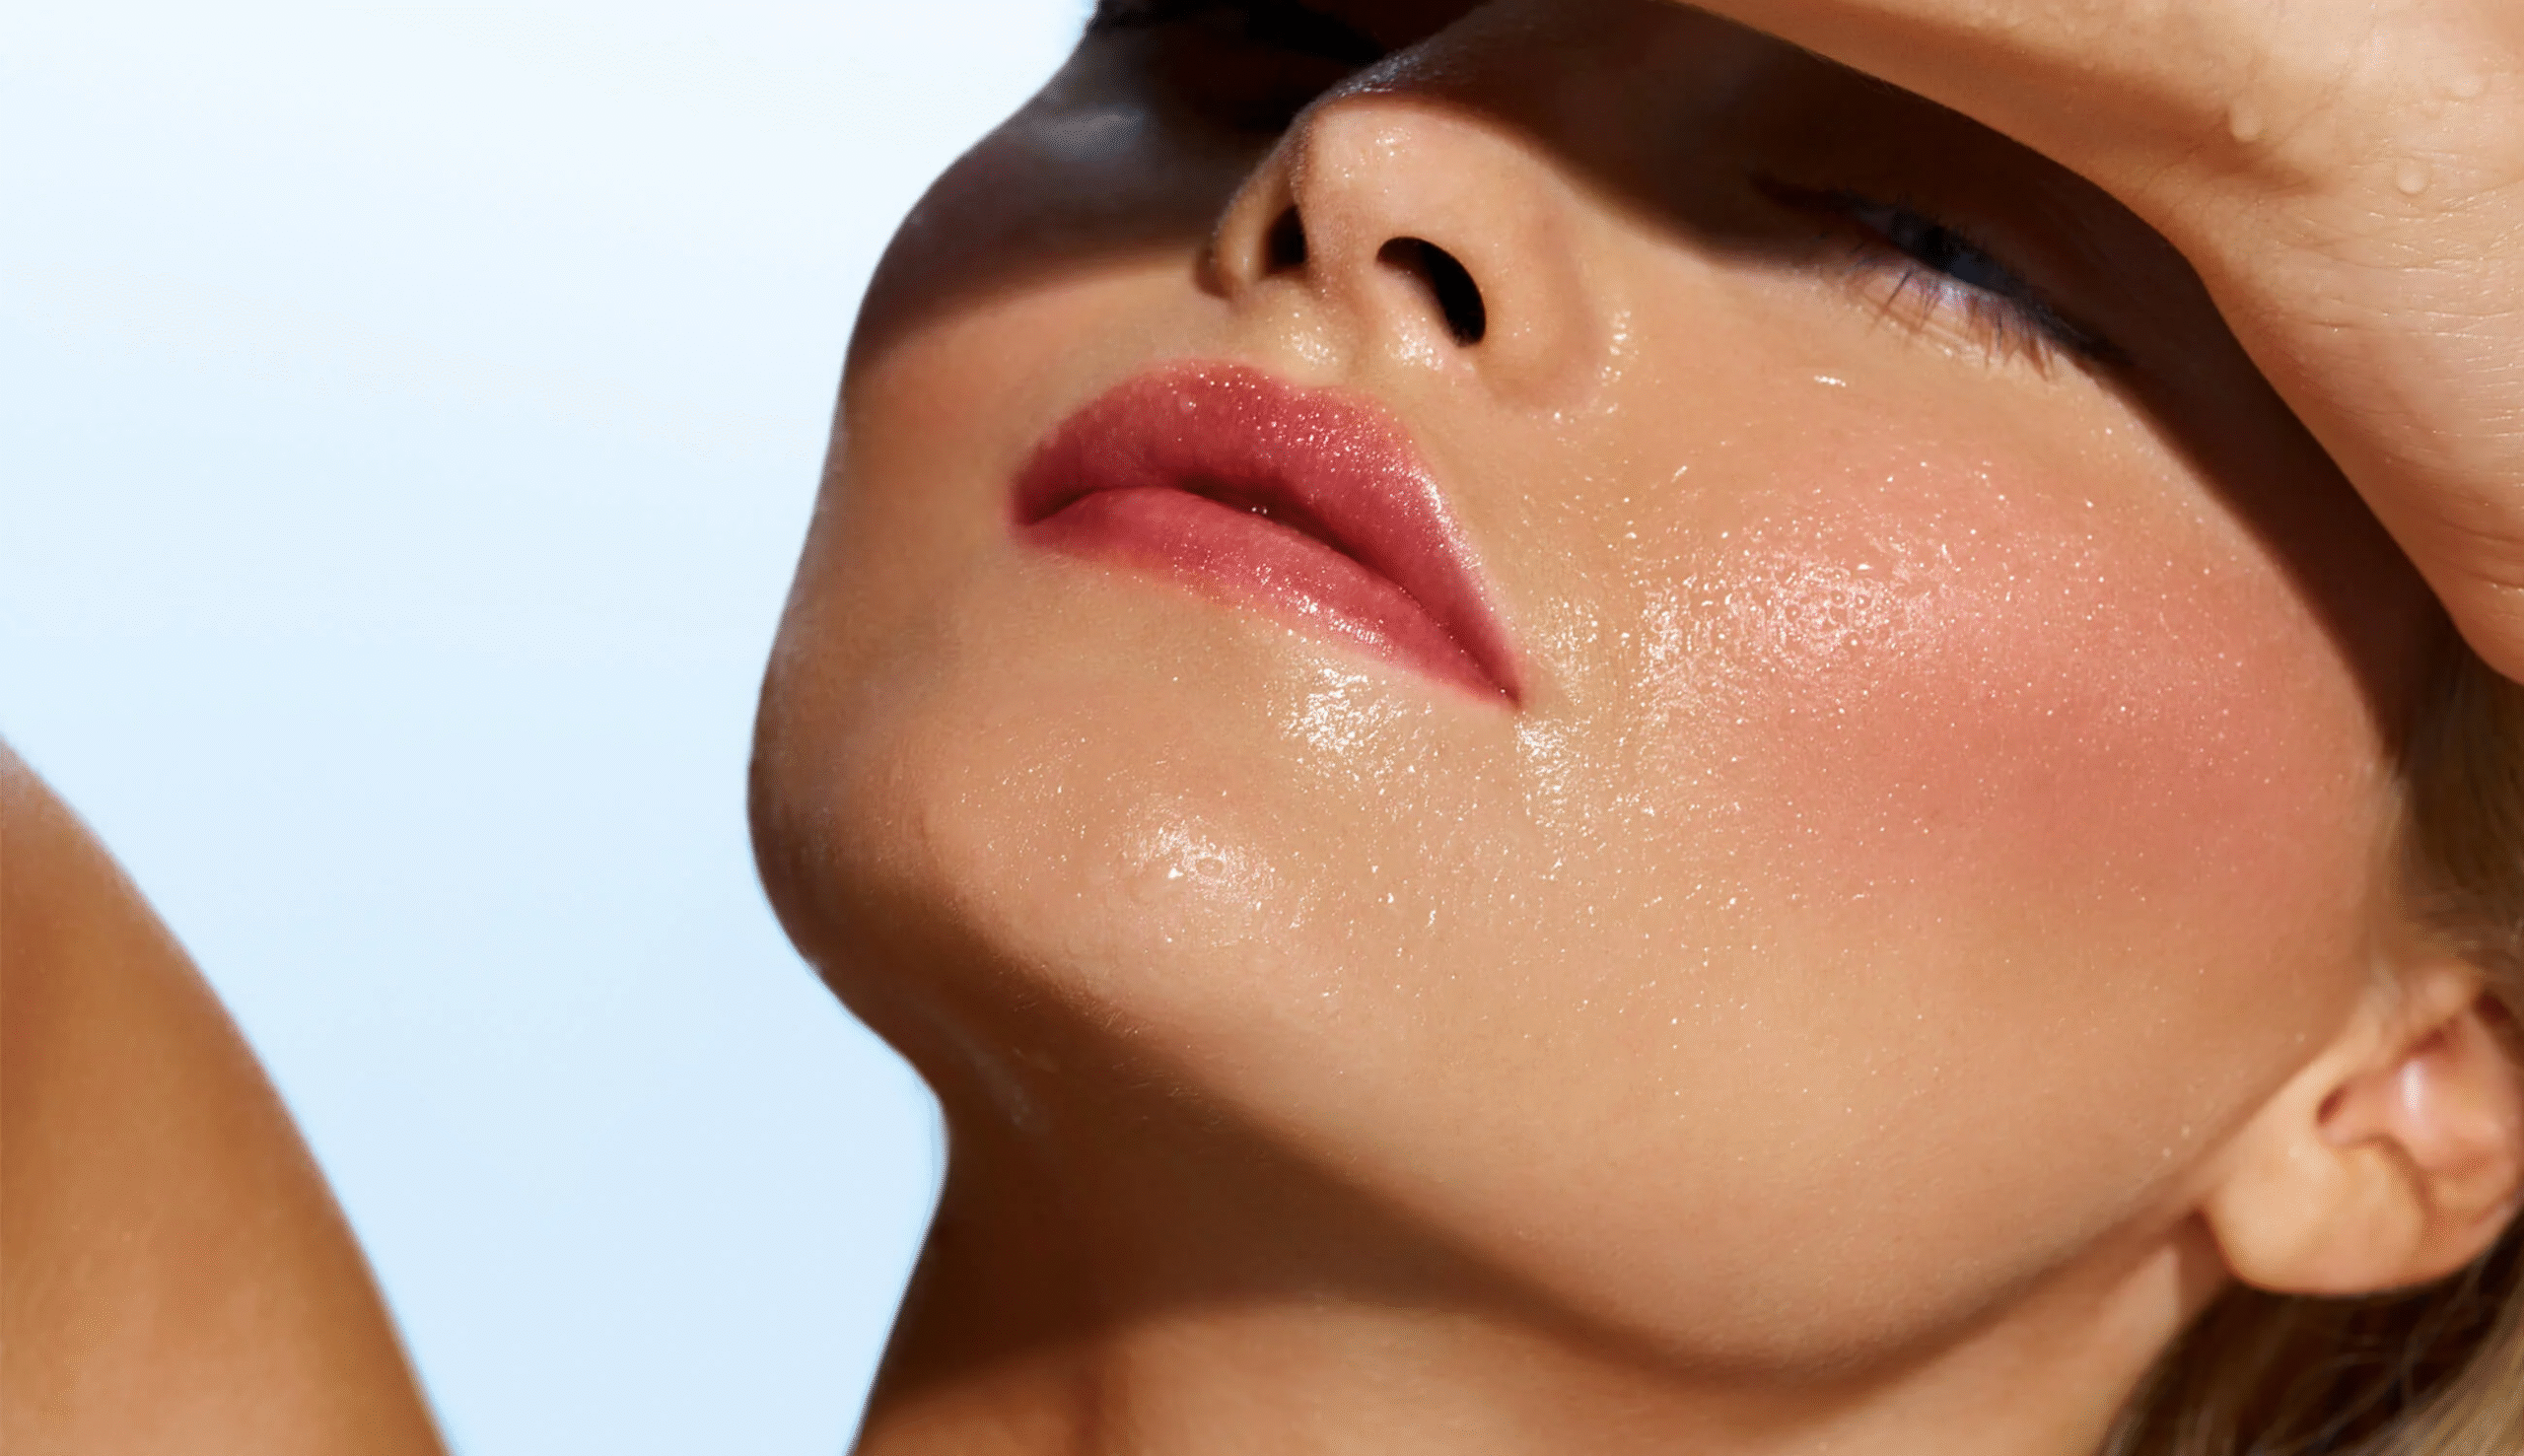
Eyeliner is a simple yet powerful makeup tool that can transform your eyes, define your lash line, and enhance your overall look. Whether you prefer a subtle definition or bold, dramatic eyes, mastering eyeliner application is key to achieving flawless results. This guide provides step-by-step instructions, tips, and techniques to help you apply eyeliner perfectly every time.
Why Eyeliner is Important
- Defines Eyes: Makes your eyes appear bigger and more expressive
- Enhances Features: Complements your eye shape and facial structure
- Completes Makeup Look: Adds polish and sophistication
- Versatile: Works for casual, professional, and party looks
Types of Eyeliner
1. Pencil Eyeliner
- Easy to use and beginner-friendly
- Soft and smudgeable for natural looks
- Great for tightlining or subtle definition
2. Gel Eyeliner
- Creamy consistency for smooth application
- Ideal for precise lines and winged looks
- Long-lasting and waterproof
3. Liquid Eyeliner
- Best for bold, sharp, and dramatic lines
- Precise tip allows for detailed designs
- Long-lasting and intense color
4. Felt-Tip or Marker Eyeliner
- Combines precision of liquid with ease of pencil
- Quick and easy for beginners
- Available in various tip sizes for different effects
Tools Needed for Perfect Eyeliner
- Eyeliner of choice (pencil, gel, liquid, or felt-tip)
- Angled brush (for gel liner)
- Q-tips or cotton swabs
- Mirror with good lighting
- Eye primer (optional)
- Makeup remover for corrections
Step-by-Step Guide to Apply Eyeliner
Step 1: Prepare Your Eyelids
- Clean and moisturize eyelids
- Apply a thin layer of eyeshadow or primer to prevent smudging
- Ensures eyeliner adheres well and lasts longer
Step 2: Choose the Right Style
- Natural Look: Thin line along the upper lash line
- Bold Look: Thick line with or without wing
- Cat Eye: Extended wing for a dramatic effect
- Tightlining: Apply eyeliner to waterline for subtle definition
Step 3: Start with the Upper Lash Line
- Begin from the inner corner and move toward the outer corner
- Use small, short strokes for better control
- Keep line as close to the lashes as possible for natural look
Step 4: Create a Wing (Optional)
- Imagine a line extending from the lower lash line toward the end of the eyebrow
- Draw a small triangle or flick at the outer corner
- Connect wing to lash line smoothly
- Adjust thickness according to preference
Step 5: Tightline Your Eyes
- Gently lift eyelid and apply eyeliner to the upper waterline
- Makes lashes appear fuller
- Use pencil or gel eyeliner for safe and easy application
Step 6: Line the Lower Lash Line (Optional)
- Apply lightly for natural look
- Avoid heavy lower lines to prevent eyes from looking smaller
- Smudge gently with a brush or cotton swab for a soft effect
Step 7: Perfect and Clean Up
- Use Q-tip dipped in makeup remover to clean mistakes
- Sharpen edges of wing or line if necessary
- Ensure both eyes are symmetrical
Tips for Perfect Eyeliner
- Steady Hand: Rest your elbow on a flat surface while applying
- Short Strokes: Apply in small lines rather than one long stroke
- Use Tape or Stencil: Helps beginners create clean wings
- Start Thin: Begin with a thin line and build thickness gradually
- Blend Pencil: Smudge pencil eyeliner for a softer effect
- Choose the Right Color: Black for bold look, brown for natural everyday look
- Waterproof Products: Prevents smudging during the day
Common Mistakes and How to Fix Them
- Uneven Wings: Use tape or draw dots as a guide
- Smudging: Set pencil eyeliner with matching eyeshadow
- Thick Line Too Early: Start thin and build gradually
- Gaps Between Lash Line and Liner: Tightline to fill gaps
- Overdoing Lower Lash Line: Keep it light for subtle enhancement
Advanced Eyeliner Techniques
1. Double Wing
- Create small additional wing along lower lash line
- Adds dramatic and trendy effect
2. Graphic Liner
- Use geometric shapes or bold lines for fashion-forward look
- Requires precision and practice
3. Smudged or Smoky Liner
- Smudge pencil or gel liner with brush for a smoky effect
- Perfect for evening or party looks
4. Colored Liner
- Use vibrant shades like blue, green, or purple for a fun twist
- Pair with neutral eyeshadow to balance the look
Eyeliner for Different Eye Shapes
- Almond Eyes: Almost any style works, from thin lines to wings
- Round Eyes: Extend liner outward to elongate eyes
- Hooded Eyes: Draw thin lines close to lashes and slightly extend outer corner
- Monolid Eyes: Use dark, thick liner to make eyes more defined
- Downturned Eyes: Lift outer corner with winged liner for uplifted appearance
Tips to Make Eyeliner Last Longer
- Apply eyeshadow before liner to prevent smudging
- Use eye primer for better adherence
- Set pencil or gel liner with matching powder eyeshadow
- Avoid rubbing eyes during the day
Benefits of Mastering Eyeliner
- Enhances natural beauty and eye definition
- Complements any makeup look, from natural to dramatic
- Adds confidence and style to everyday makeup
- Versatile and creative tool for makeup enthusiasts
Final Thoughts
Perfect eyeliner application enhances your eyes, completes your makeup look, and boosts confidence. By understanding different types of eyeliner, following step-by-step techniques, practicing regularly, and learning tips for your eye shape, anyone can achieve flawless eyeliner every time. Whether you prefer a subtle line, dramatic wing, or creative design, the key is preparation, patience, and practice. With these techniques, you can master eyeliner application and elevate your makeup skills effortlessly.


